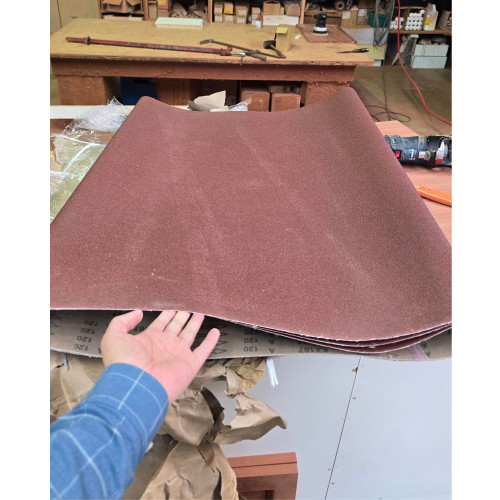


Professional splicing materials for your home workshop and shed. Repair a failed joint on a serviceable belt, or shorten a suitable belt to the length your machine needs.
Keep useful sanding belts working
A failed joint can stop a project while there is still useful abrasive left on the belt. Finding the right materials to make a new joint can be difficult when you only need a small quantity for your own workshop.
The ABRASIVESTOCKS Sanding Belt Splicing Kit brings adhesive, RE hardener and three grades of splicing tape together in one pack. We use the same types of materials for industrial belt production and provide mixing guidance for practical DIY use.
Whether you work in a garage, a workshop or a Men’s Shed, the kit helps you tackle suitable belt repairs and length adjustments with a clear sequence: mix, coat, allow to become tacky, press and cure.
What is included
|
Component |
Quantity |
Specification or application |
|
Splicing adhesive |
1 bottle |
500 g |
|
RE hardener |
1 bottle |
100 g |
|
Blue splicing tape |
1 roll · 20 m |
For 40–80 grit |
|
White splicing tape |
1 roll · 20 m |
For 100–180 grit |
|
Red splicing tape |
1 roll · 20 m |
For 240 grit and finer |
Sold as one complete kit. Components are not currently available separately. A workshop press and preparation tools are not included.
Why choose this kit
Matched splicing supplies in one purchase, with tape options for coarse through fine abrasive belts.
Measured mixing ratios and step-by-step instructions for small workshop jobs.
Natural curing at room temperature; a drying oven is not normally required.
-------------------------------------------------------------
What you need in your workshop
Use a suitable workshop press in the 1–10 tonne capacity range, with flat supports that spread the load evenly across the joint. The required force depends on the joint area and setup; the press capacity is not a universal force setting for every belt.
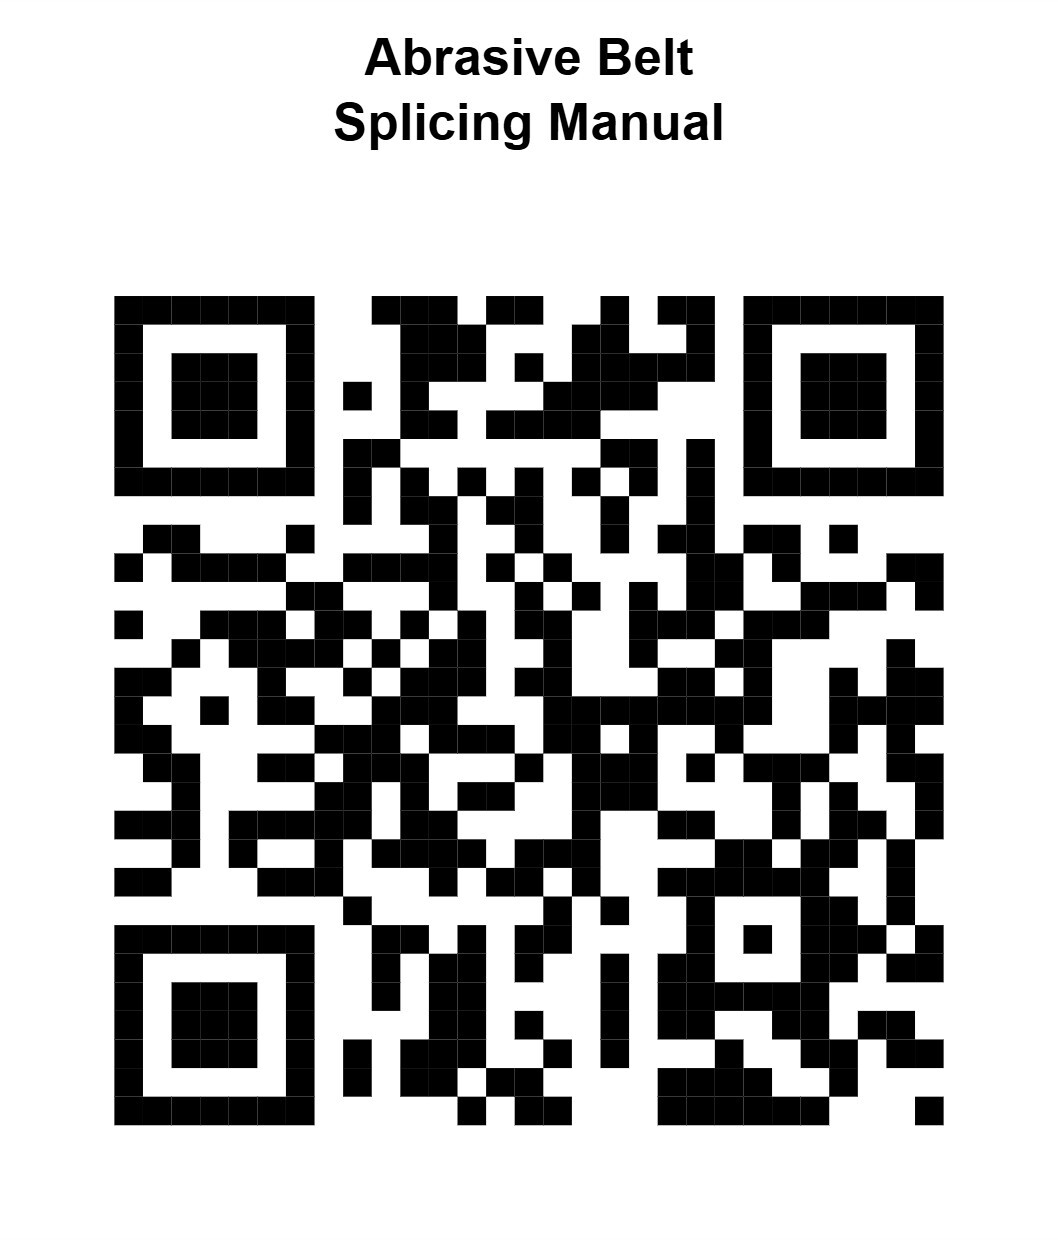
You will also need an accurate scale, a suitable mixing container and brush, and tools to measure, cut and prepare the belt ends. Follow the separate ABRASIVESTOCKS user guide before starting.
Allow time for a sound joint
After coating, allow approximately 30 minutes at room temperature for the adhesive to reach a suitable tacky state before joining. Temperature, humidity and coating thickness can change this waiting time.
Press the joint as directed, then allow at least 48 hours for natural curing at room temperature after pressing. Cold conditions may require longer. Do not rush the belt back into use.
Common questions
Can I repair any broken belt
The kit is intended for suitable joints on belts with sound backing. A belt with torn, brittle or deteriorated backing should not be returned to service simply by taping over the damage.
Can I change the belt length
You can shorten a suitable belt by preparing a new joint at the required length. Check the machine’s belt dimensions and adjustment range before cutting.
Do I need a drying oven
Normally, no. Our DIY method uses natural curing. Plan for at least 48 hours after pressing, with extra time in cold conditions.
Can I buy the components separately
Currently, this product is available as a complete kit only.
Bring professional belt splicing materials into your workshop with the ABRASIVESTOCKS Sanding Belt Splicing Kit.
User Guide MSDS